Guide
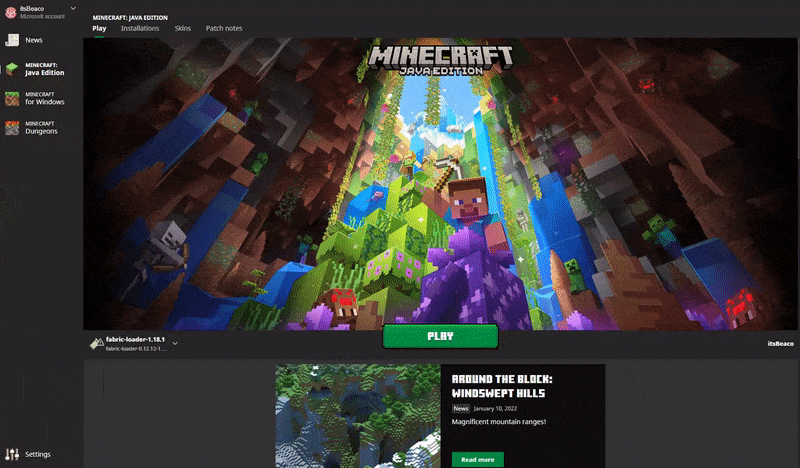
1. Open the Minecraft Launcher and select the “Installations” tab at the top left.
2. Scroll over the Minecraft version you want to allocate more RAM to, then click the three dots on the right and select “Edit”.
3. Select “More Options” in the lower right corner of the screen.
4. In the “JVM Arguments” section change “-Xmx2G-” to “-Xmx4G-” or “-Xmx6G-” depending on how much you want to allocate. The 4 represents 4GB of RAM you’d like to allocate to Minecraft.
5. Click “Save”, launch your game and have fun!